
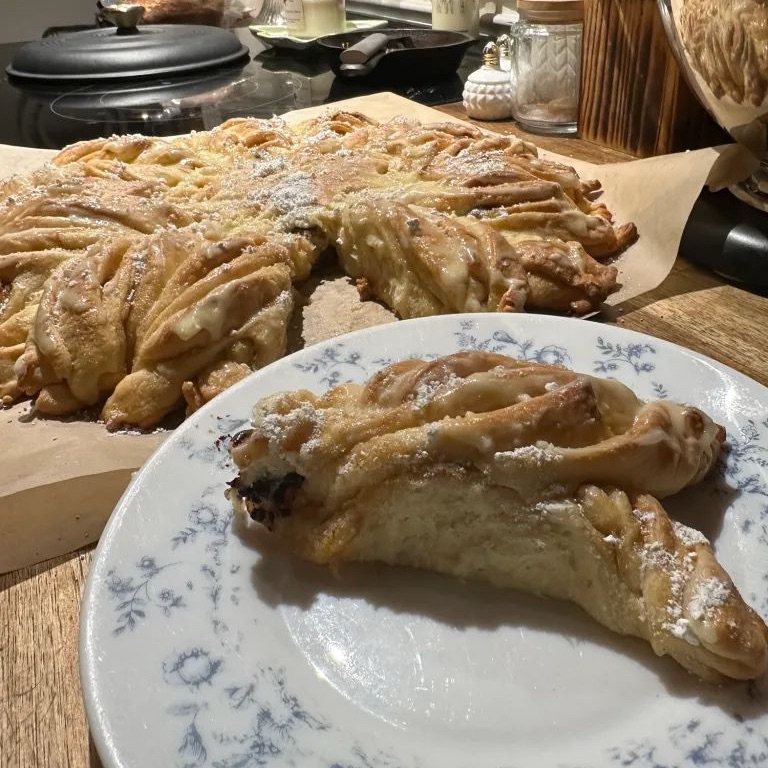

I kept seeing this lovely bread all over the internet, but thought there was no way I’d ever put forth that much effort to make it. Well, I’m here to tell you, it is about the same amount of effort as making cinnamon rolls and tastes 10 times better!
Every week I like to make a loaf of sourdough along with some kind of breakfast pastry or dessert. That always leaves me with some amount of sourdough discard, and Lord knows I don’t like to waste it. This recipe uses some of that discard. HOWEVER, if you do not have a sourdough starter or discard, you can still use this recipe. Just add 1/2 cup water and 1/2 cup flour to the wet ingredients before mixing the dough.
Anyways, let’s get started!

Ingredients
Bread
- 1 cup sourdough discard
- ½ cup milk
- ¼ cup sugar
- 2t yeast
- 1 egg
- ¾ cup melted butter
- ½ t salt
- 3.5 cups flour
Filling
- ½ cup butter
- ½ cup brown sugar
- 1 T cinnamon
Icing
- 3 T butter
- 2.5 cups powdered sugar
Directions
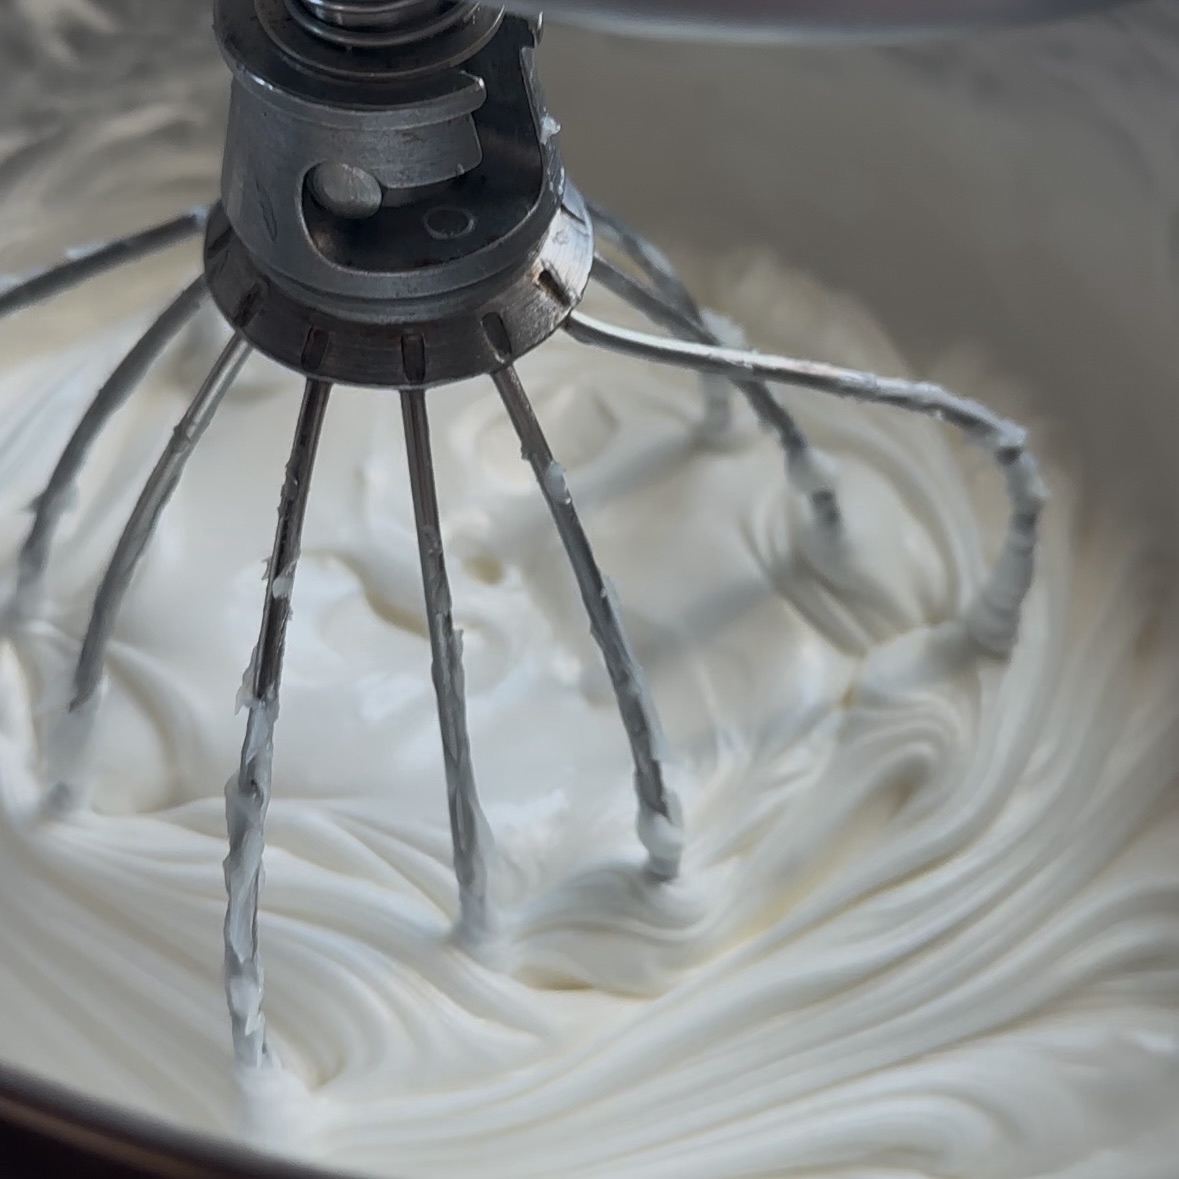
Warm milk to about 95 degrees F and add to mixing bowl with sourdough discard and sugar. Stir to combine. Sprinkle yeast on top and allow to bloom for 5-10 minutes. 1 cup discard, ½ cup milk, ¼ cup sugar, 2t yeast
Once yeast is bubbly, and egg, butter, salt, and flour. Mix until all ingredients are incorporated. 1egg, ¾ cup butter, ½ t salt, 3.5 cups flour
Allow dough to rest for 10 minutes, then knead by hand or with stand mixer dough hook attachment for 10 minutes. Place dough in greased bowl and allow to rise in a warm location for 1.5 hours or until doubled in size.
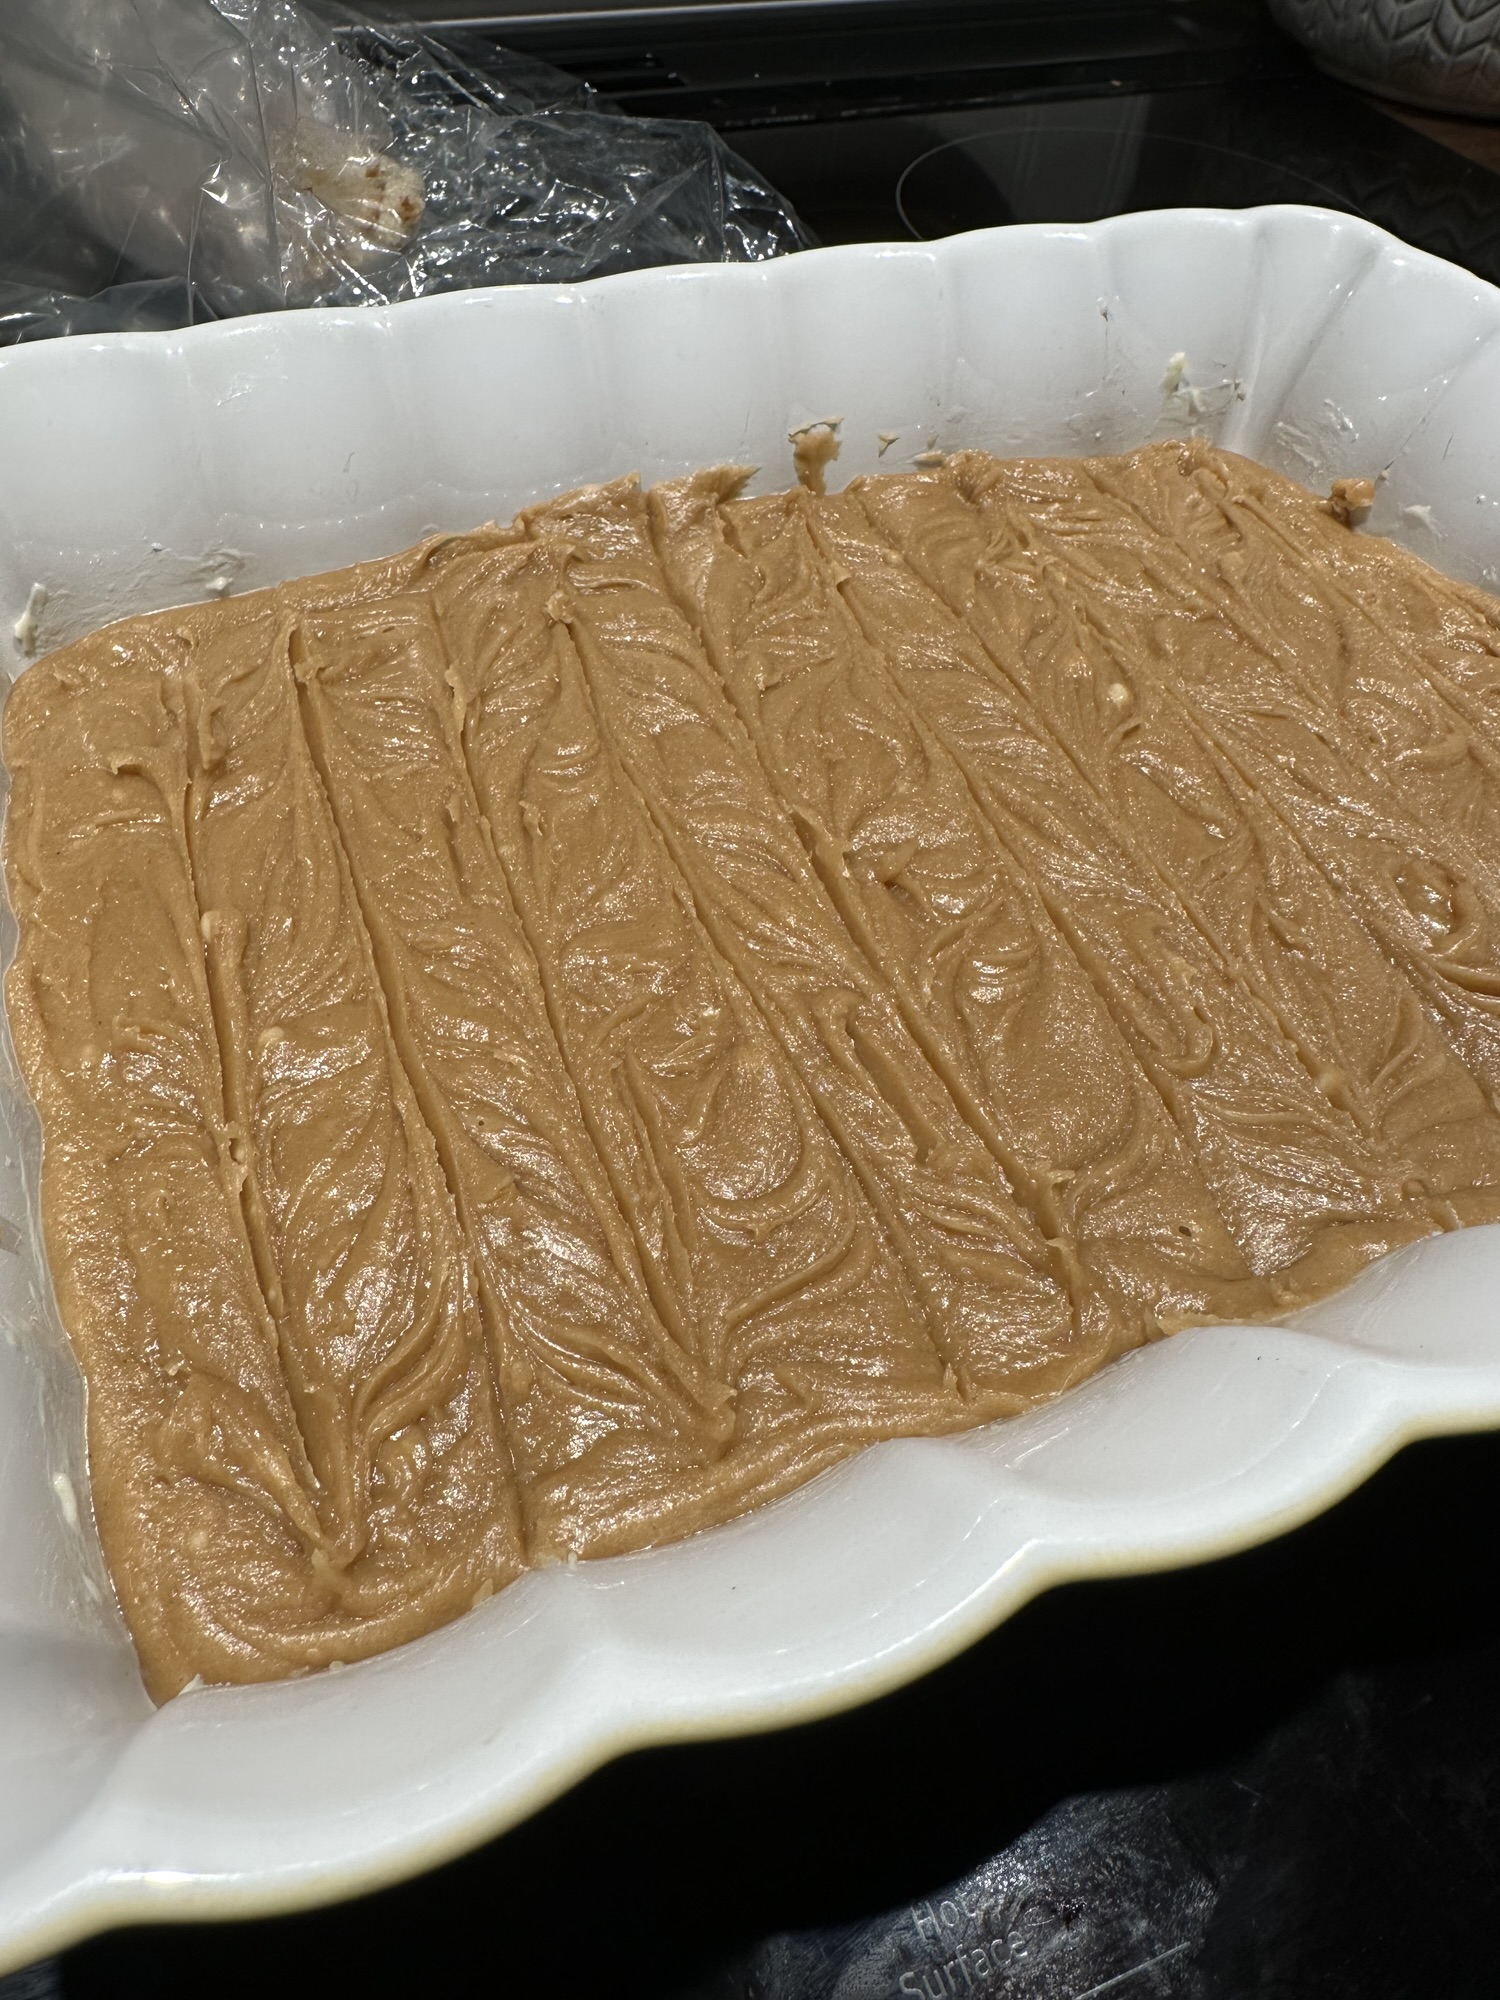
Meanwhile, mix your filling. Melt butter until softened and stir in cinnamon and sugar. ½ cup butter, ½ cup brown sugar, 1T cinnamon.
Make icing: Mix powder sugar into softened butter until it becomes a thick paste. 3T butter, 2.5 cups powdered sugar
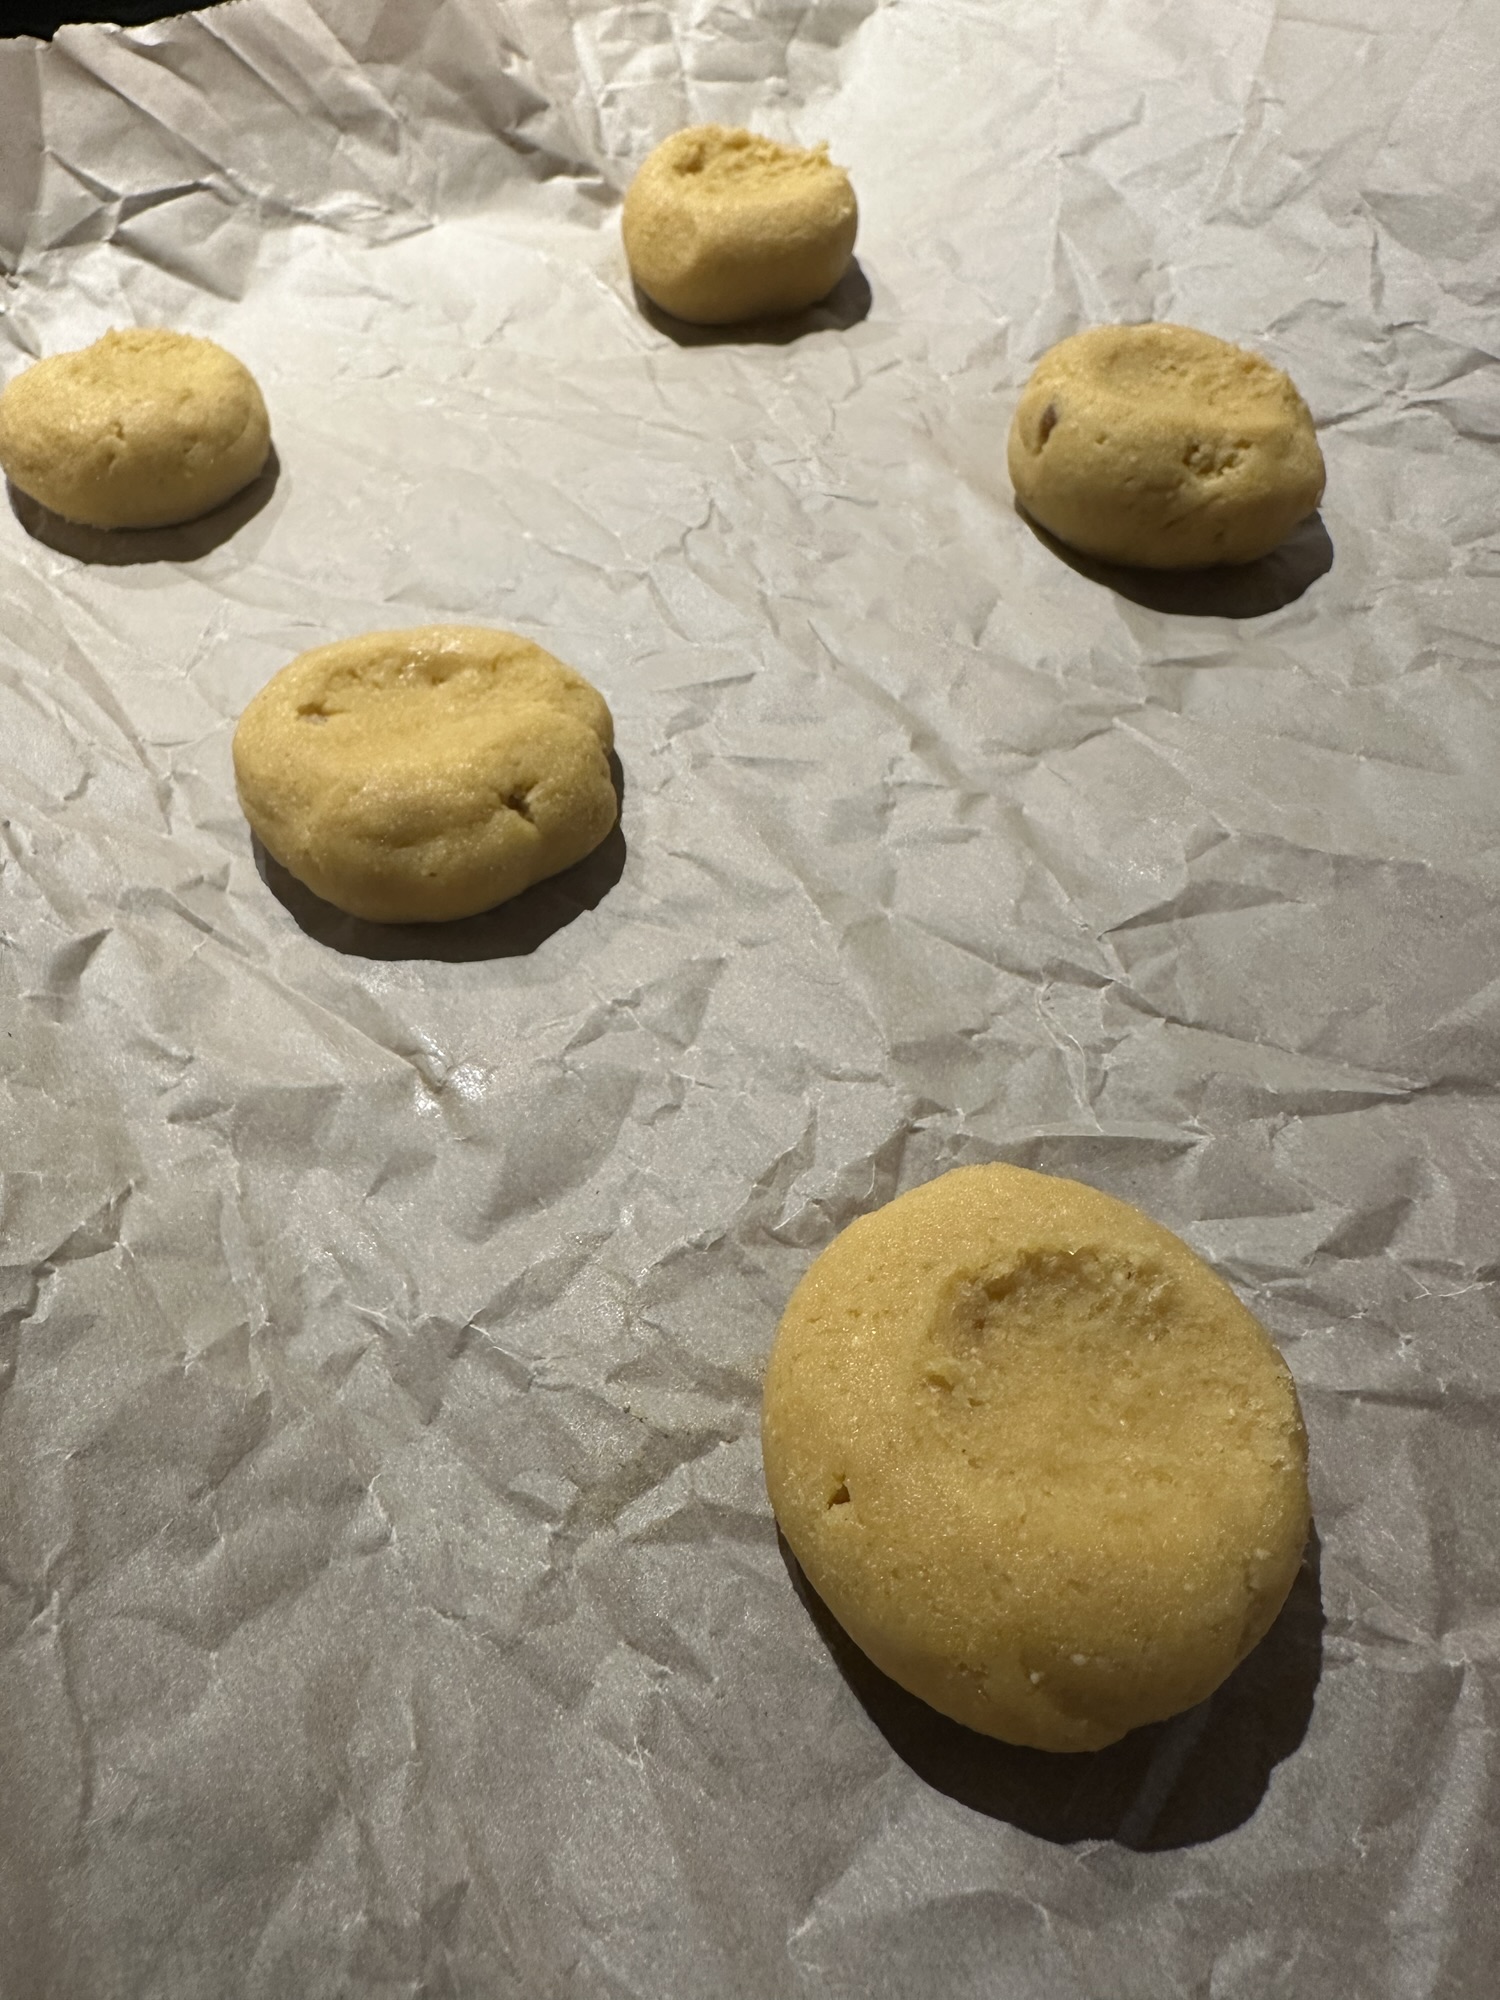
once dough is ready, punch down and separate into 4 equal parts. Roll each piece into a 10-12” circle.
Place parchment paper on a large baking sheet or pizza pan. Place 1 prepared dough circle in the center of the pan.
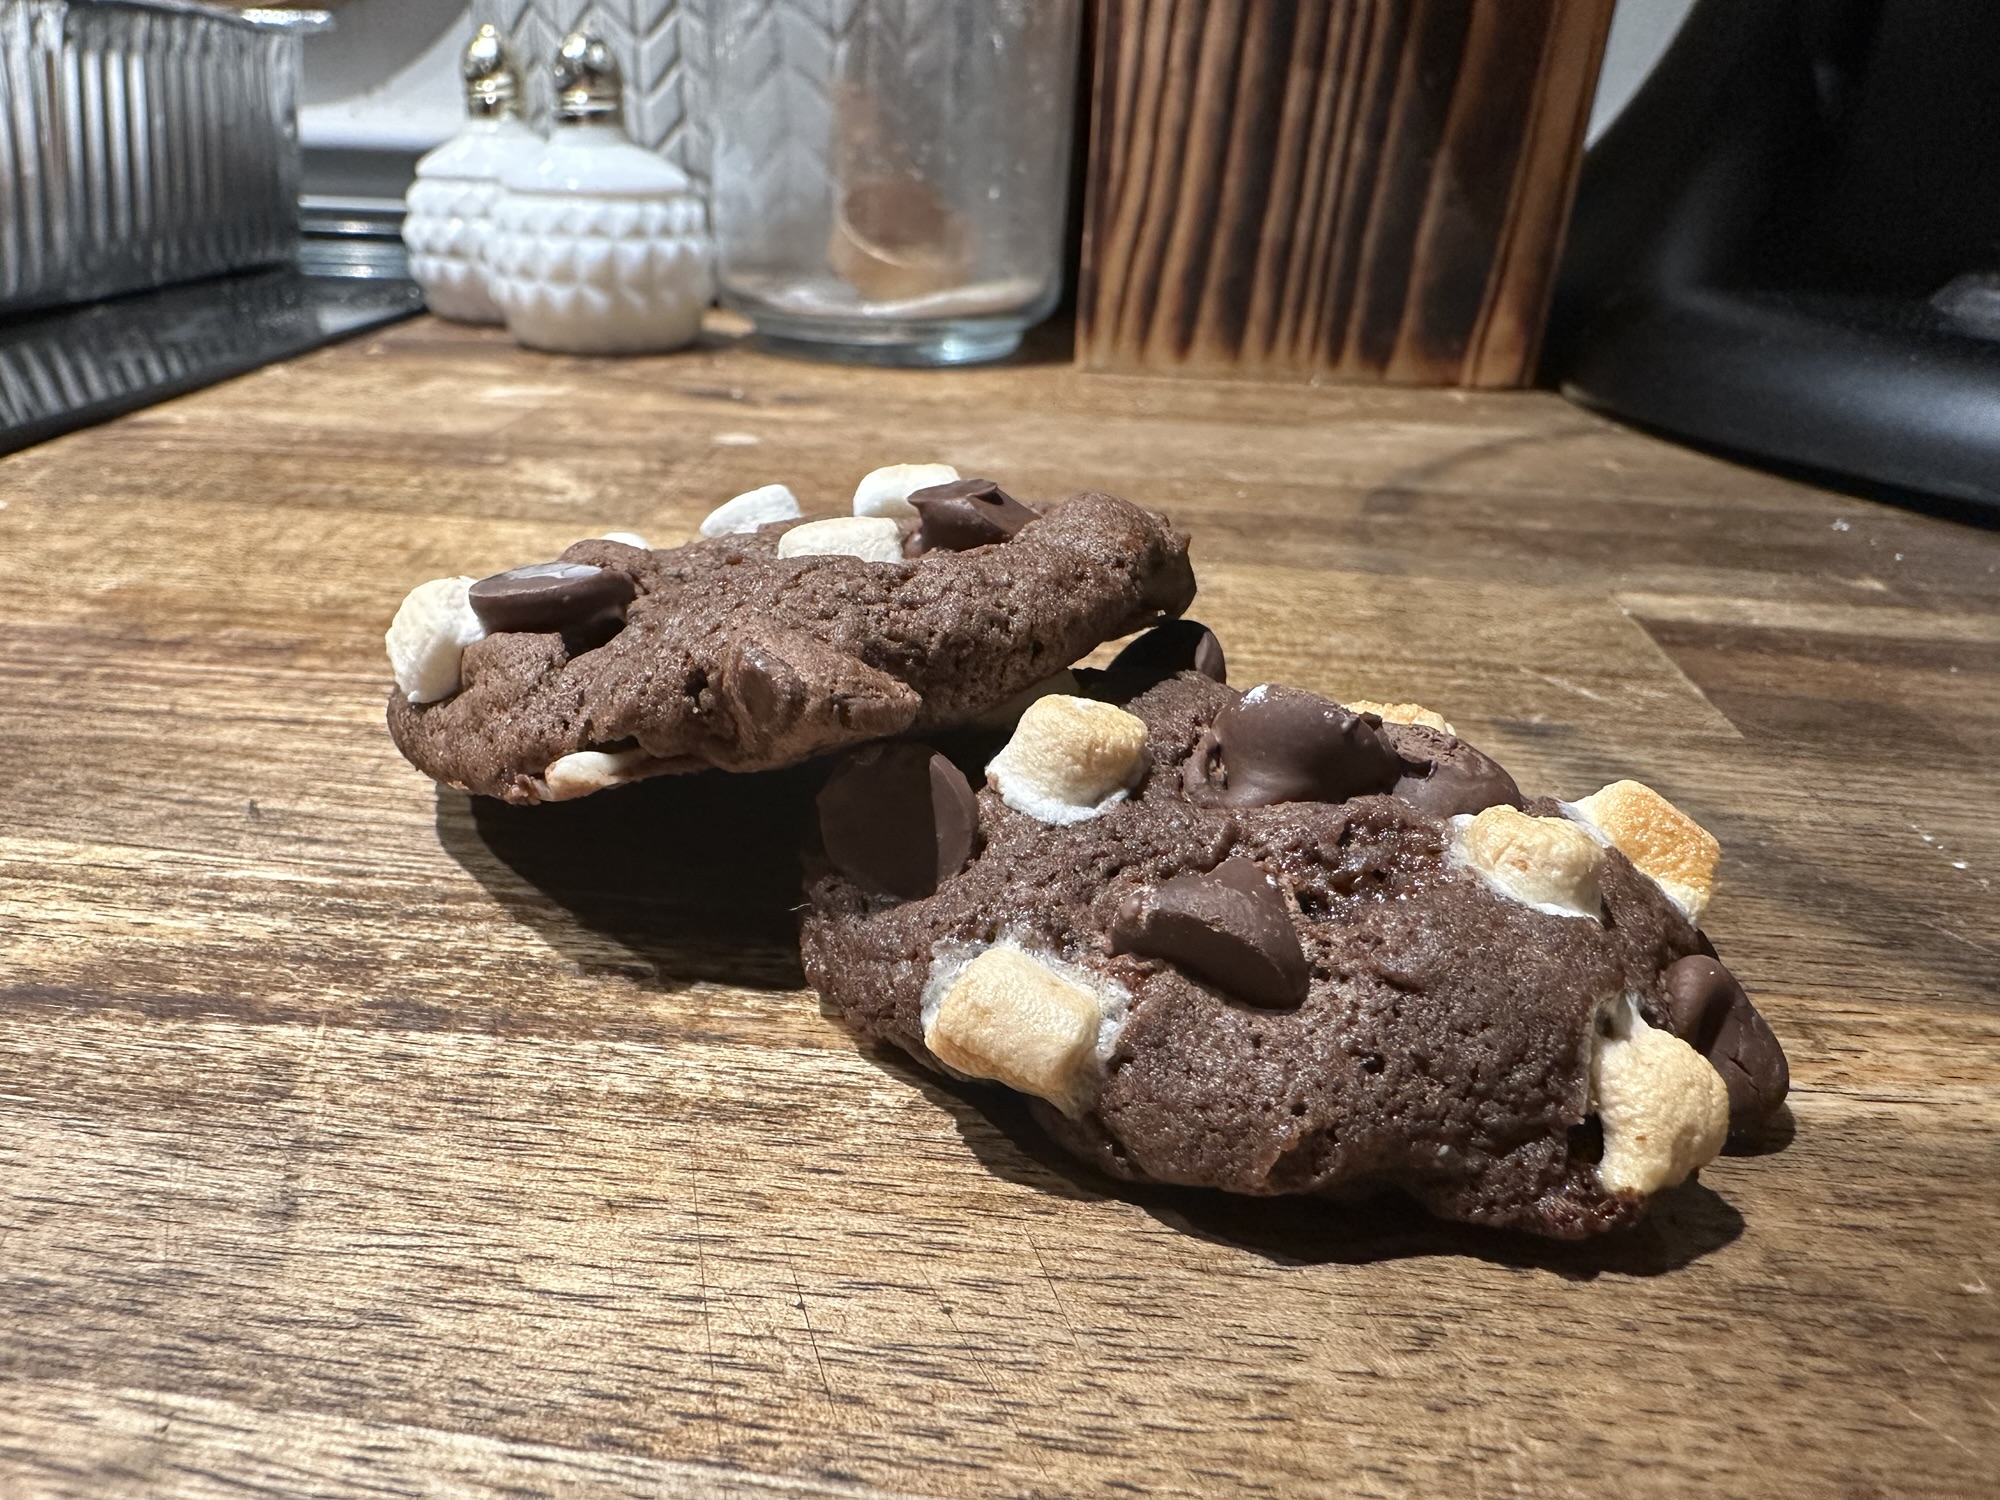
Top with ⅓ filling mixture. Place next dough circle on top. Repeat layer 2 more times and top with last dough circle. If you wish to add chocolate chips, nuts, or other fillings, It is best to add them in the middle or last layer. My favorite addition is butterscotch chips, but chocolate chips, walnuts, pecans, or even peppermint bits would be great!
Preheat oven to 350 degrees F.
Using a small cup or jar, make a slight indent in the center of the top layer. With a sharp knife, starting from the edge of the indentation, cut a line to the outside edge. As if you were cutting a pizza, make 8 “slices” while leaving the center piece attached. Then cut each of those “slices” in half, making 16 “slices” as shown in the photo.


Starting with the side closest to you, pick two pieces that are next to each other and twist them towards away from each other, then pinch them together at the bottom. Turn the pan and start with the next two pieces, repeat until all pieces are twisted and you have a snowflake!
If you want, you can add slits at the bottom of each of the 16 pieces and twist those too!

Bake for 25-30 minutes, until the top crust starts to turn golden. Remove from oven and spread icing all over the top. Sprinkle with additional powdered sugar, if desired. Best served warm!

As always, here are the recipe cards! This one has a lot of instructions, so there are two cards. Just click and hold to save them to your device!


I hope you love this bread as much as we do! I’d love to try a savory version with some cheese and marinara sauce…maybe next week! If you try it before me, let me know how it goes!
Please, don’t forget to like and share this with your friends! Every interaction lets us know you care. If you want to stay up to date on our posts and products, subscribe to our newsletter!
Thank you so much for your support
-Kristen


Leave a Reply