
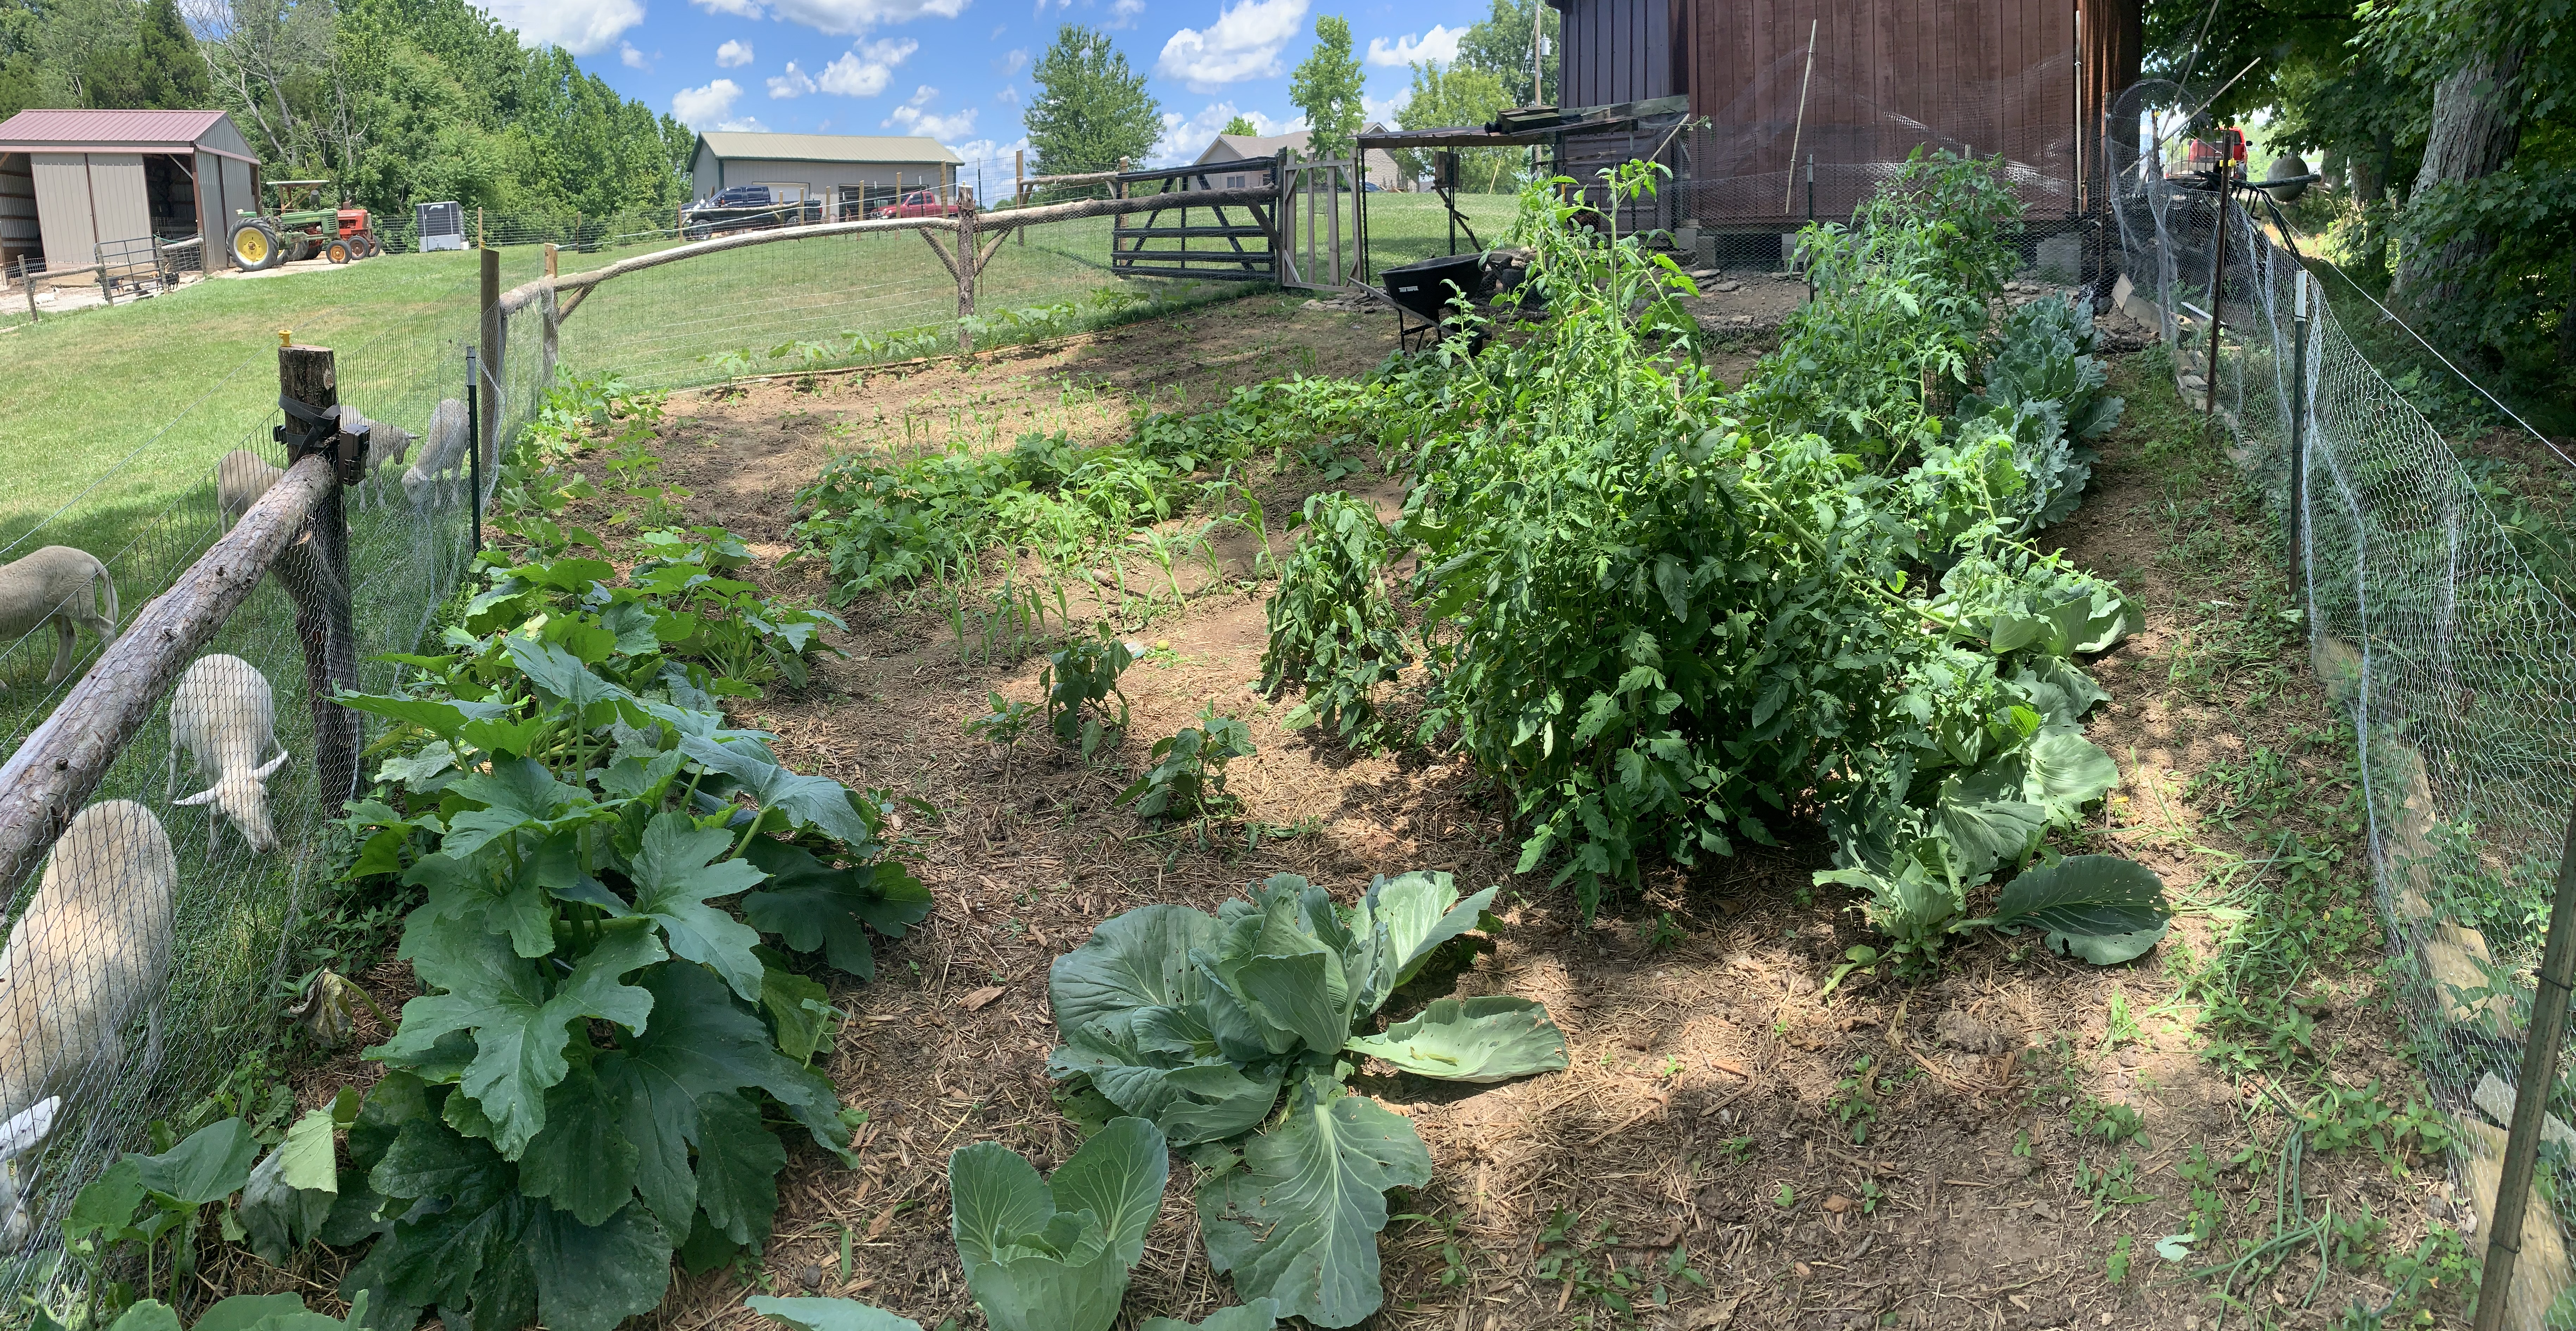
Growing your own food is one of the best feelings ever. I have been eating food straight from the garden in the back yard since before I can remember. I watched my grandparents slave over a garden every year so I knew I could somehow manage to get a plant or two in the ground and have them produce a snack-at least. Problem is, I failed to take note of all of their tips and tricks they used to get an abundant harvest, year after year.
I remember watching my Pappaw till the garden plot up several times and then yell for my Mammaw to come check it to see if it was tilled to her liking, then he would have another go until she was satisfied. The weeks following were always busy. My uncle would take my Mammaw to the local greenhouse to buy starts of tomatoes and peppers and various seed taters, corn, and green beans. Often it took several trips to fill the garden how she wanted, but she new exactly what to get and when to put it in the ground for it to become the tastiest food for the family! Once all the starts, seeds, and fertilizers were collected, she would have Pappaw sharpen her favorite hoe (which us grandkids weren’t allowed to use because she thought we’d chop our toes off) and get to work hoeing out the most perfect, straight rows for her young plants to take root in. She wasn’t much for bending over for hours on end to set, hoe, and harvest, but she would do it in a heartbeat and always recruited us grandkids to help!
After setting all the plants and seeds where they belonged, Mammaw would stand out there for hours watering everything each morning before the sun came up. She taught me that you should always water the garden before the sun has time to heat up and burn the water off of the leaves and also to never water before dark because it can cause the plants to mold. I swear, that woman knows everything. Soon, the plants would bloom, sprout fruit, and be ready for harvest. It just took time and effort.

Now that I am grown, there isn’t a bit of hesitation about raising a garden myself. I have been gardening for the last several years and I enjoy trying new things each go around. The one thing I always seem to fail at is seed starting. Every single year it starts out great! 6-8 weeks of consistent growth-then things go wrong. The plants become leggy and thin and will eventually wither and die. So before trying it for the 874th time, I did some research. I found there were 3 key elements that were likely the cause of my failure.
1. Bad Soil- I have always used the seed starting kits with the dehydrated peat moss tabs, then used normal potting soil once they would outgrow the seed kit “greenhouse”. The problem with that is, any type of soil you are using is likely not clean. Plants that have been outdoors or have developed several leaves will have an immunity to most soil born disease and mold. Seedlings do not have this immunity so you need to “sterilize” your soil.
2. Little sun- I have always left my plants in a window sill with a heat lamp close by. Seedlings need 6-8 hours MINIMUM of direct sunlight. Sunlight coming through a window is filtered and rarely shines directly on the plants for more than a few hours a day. The heat lamp did nothing other than run up our electricity bill. Plants need 70-75 degrees to grow, not the 85 degrees I was keeping them at.
3. No wind- for plants to become strong, they need movement.

So here is what I am doing this year to fix my past mistakes.
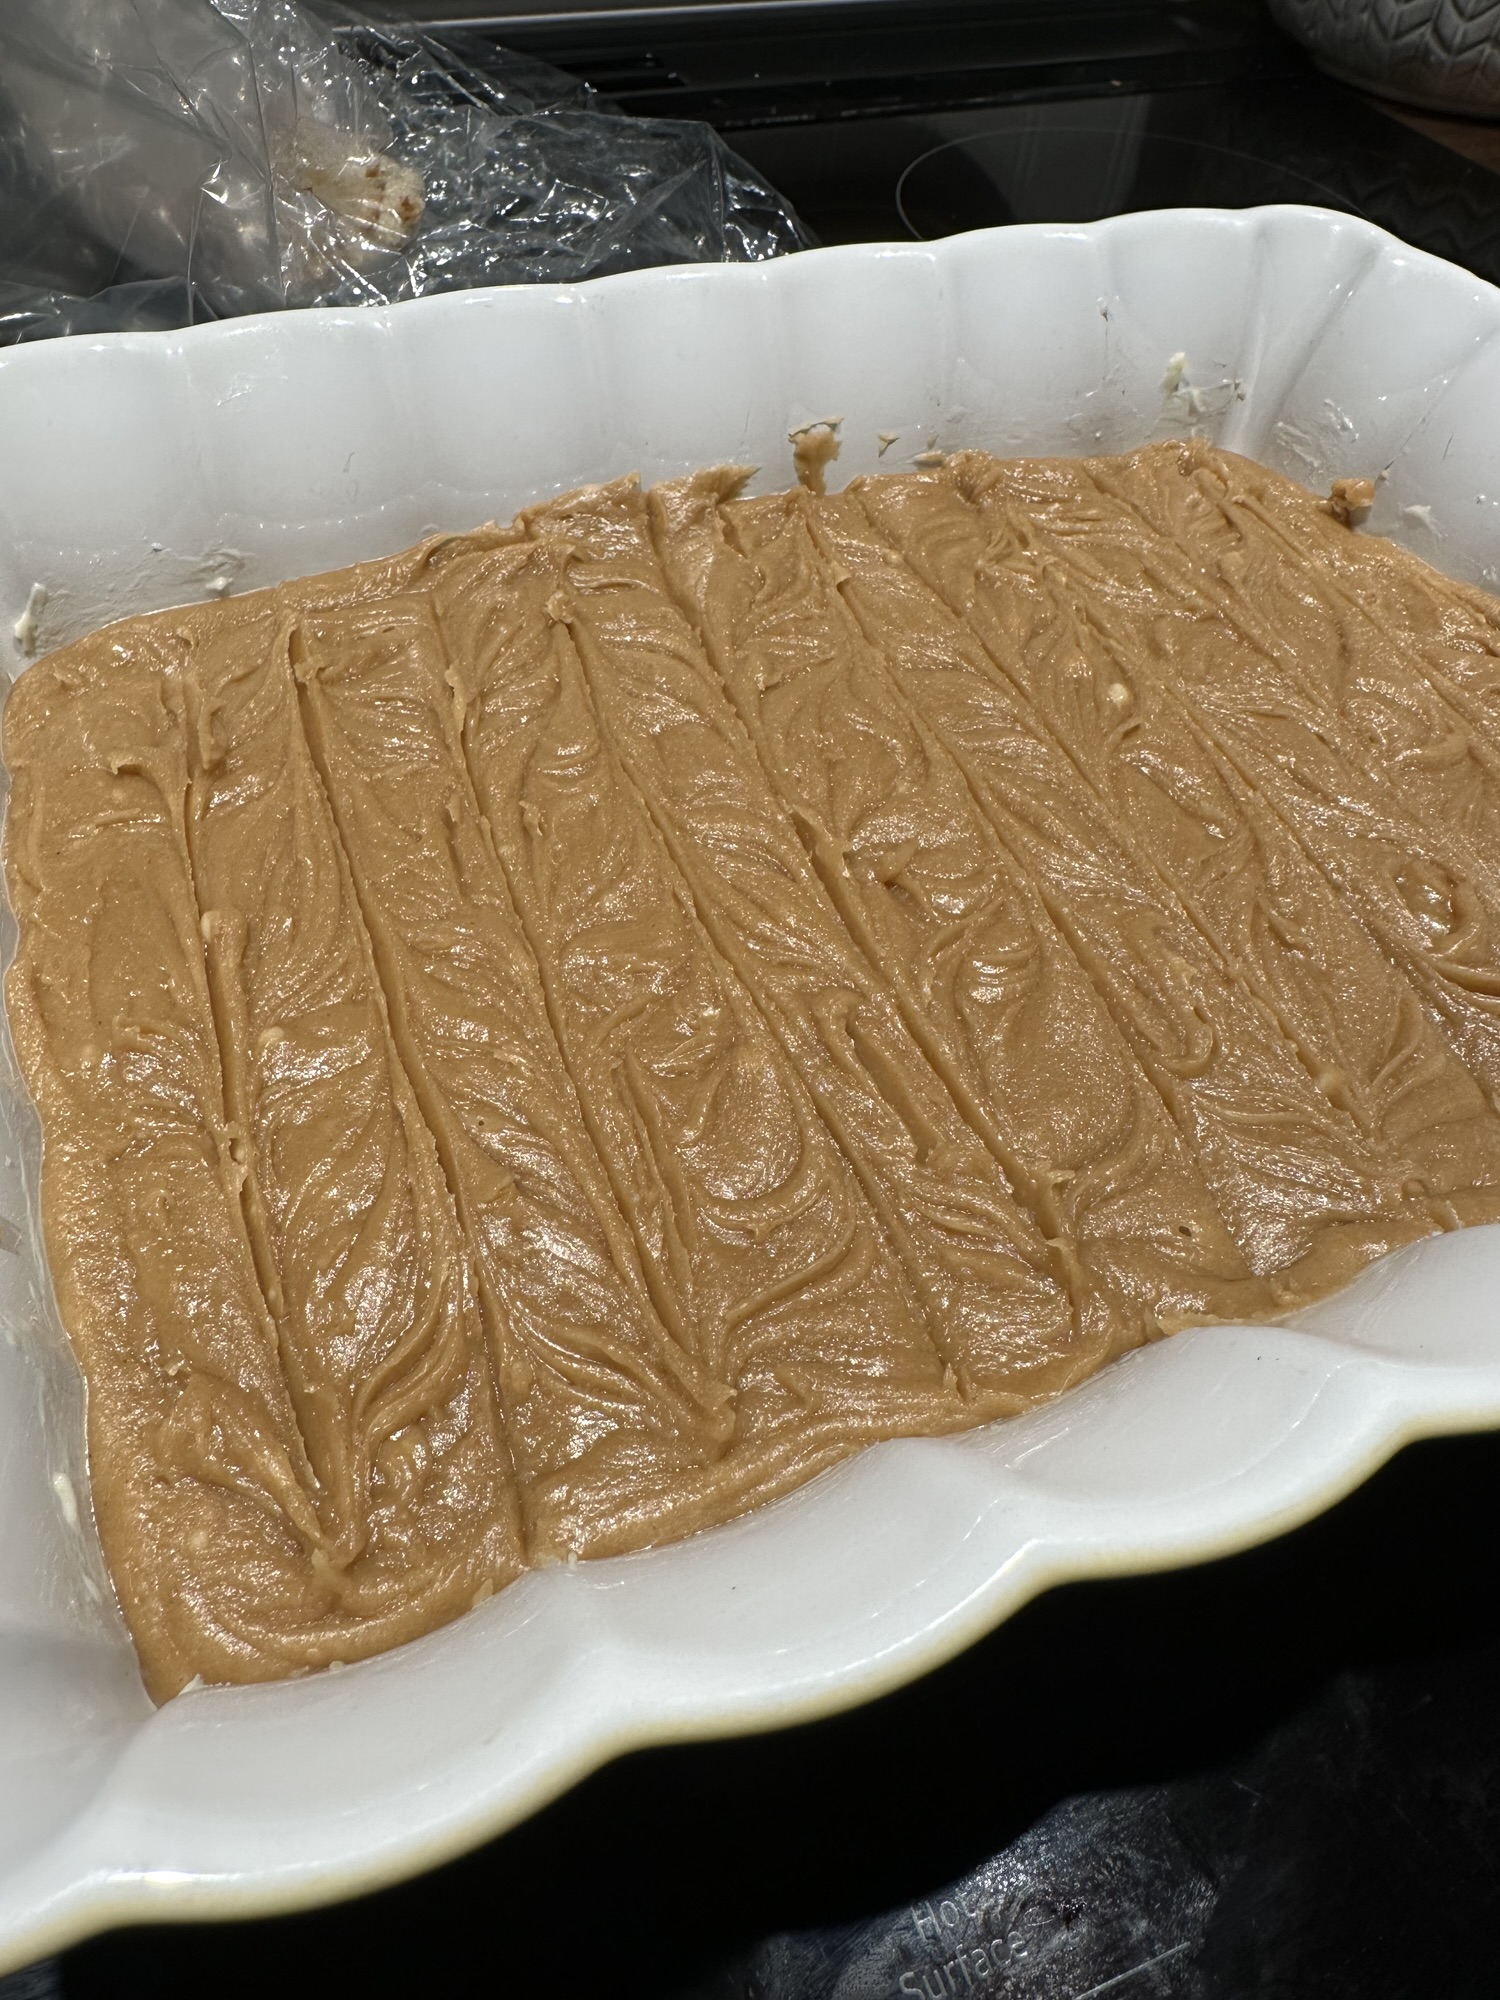
1. Sterilizing Soil- I am using Miracle Gro potting soil for in-ground vegetable gardening, but any rich potting soil will do providing it is not full of chemicals or additives. I did my sterilization in small batches using the following method
-Preheat oven to 200 degrees
-Spread 2.5-3″ of soil into a baking dish and moisten, only enough for the soil to be wet, not so wet that there is water standing in the pan
-Place your soil in the oven and check every 10 minutes to see when the soil reaches 180 degrees. Once it has reached 180 degrees, bake for 30 additional minutes.
-Turn the oven off and allow the soil to cool slowly.
2. Grow lights! I invested in a grow light that comes with an adjustable stand so the light can raise as the plants get taller. You can find the one I purchased here.
3. Oscillating fan- I also invested in a cheap, small oscillating fan.
The plan is to set the light and fan on a timer, light for 16 hours per day and fan for 1 hour in the am and 1 hour in the pm.

Another change I am implementing is utilizing egg cartons as seedling trays. The egg cartons that have clear lids are AMAZING, but any other egg carton will do, providing you wrap it with plastic wrap to create a greenhouse effect an lock in moisture. As I stated before, the plants need to be kept at 70-75 degrees to properly germinate and our house is usually around 68. To get keep the seedlings at the correct temperature, I have created a “greenhouse” in our spare shower (it has sliding glass doors) using a small heat lamp. Once the seedlings sprout, these seed trays will be moved out of the shower and under our grow light to continue their journey to our dinner plates!
Stay tuned to see how they go and if you have any additional tips, feel free to leave a comment!
Thanks for reading!
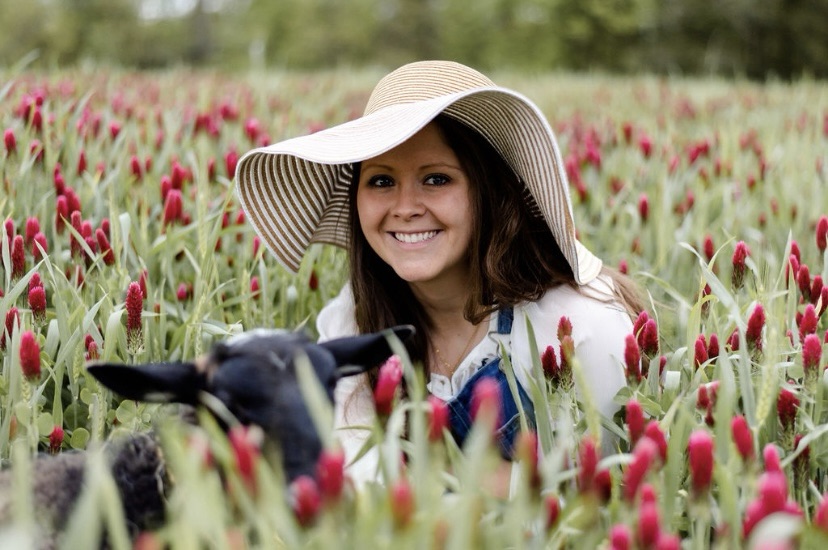
-Kristen


Leave a Reply