
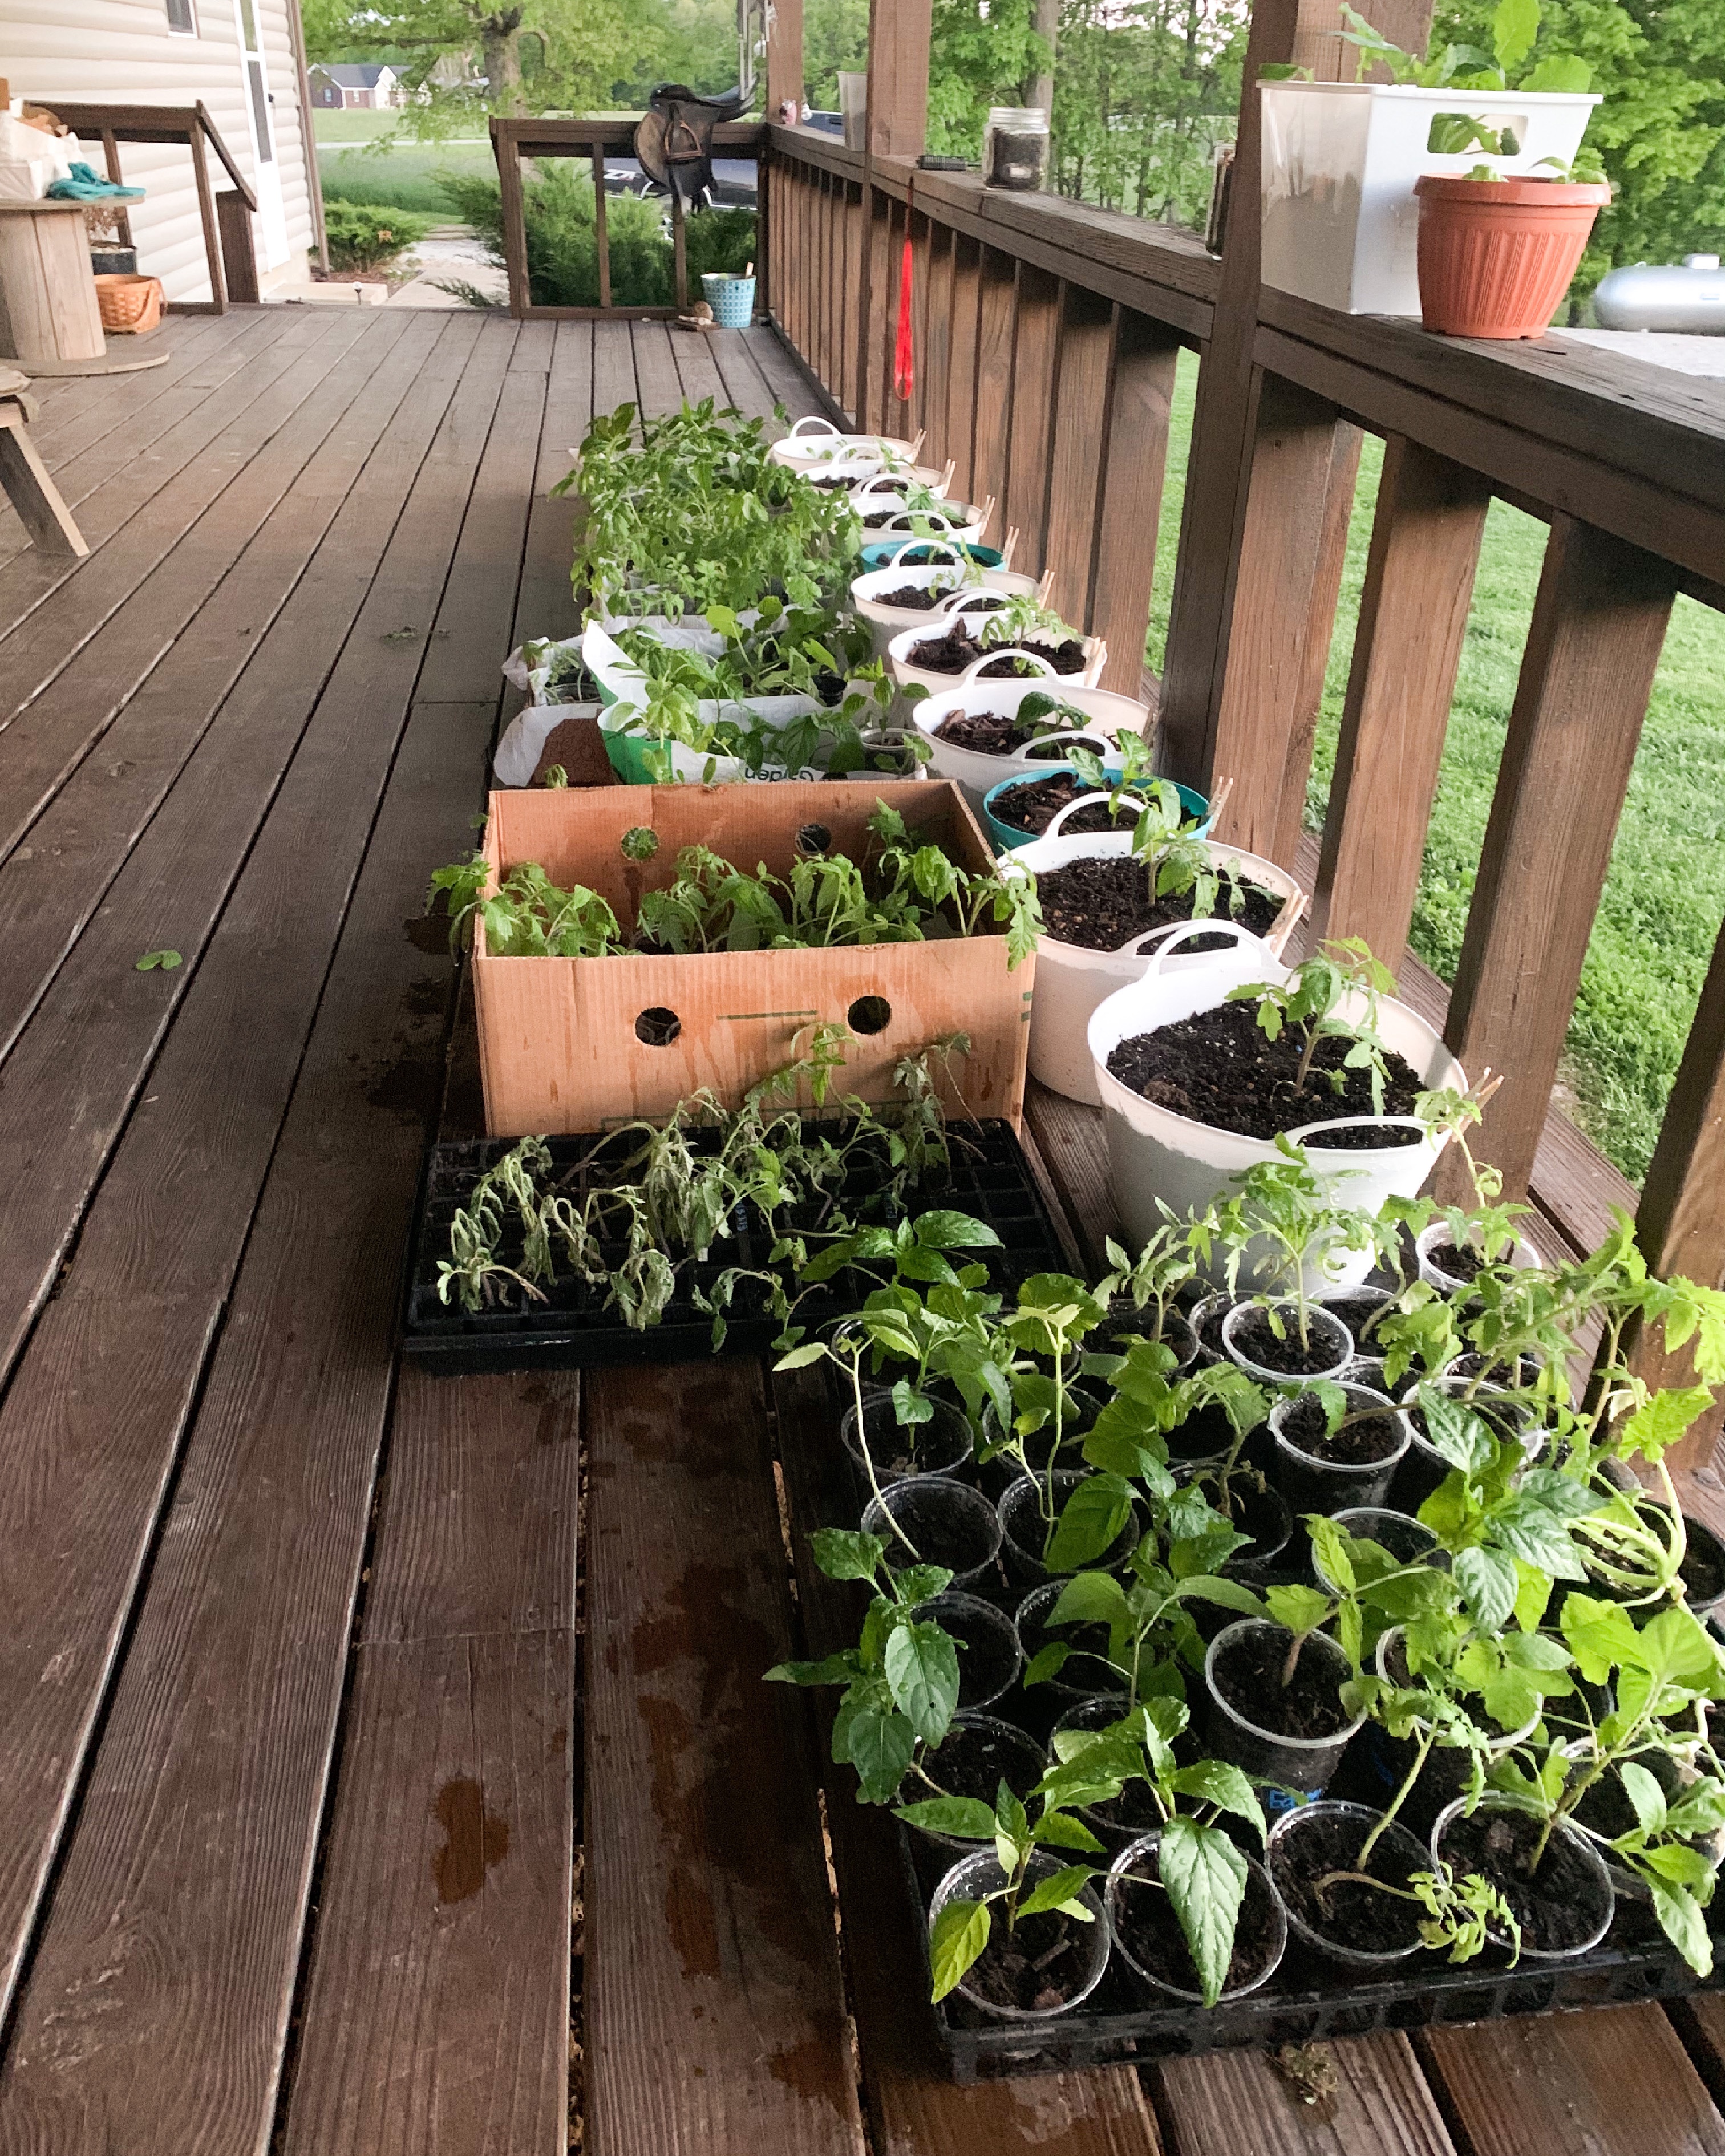
If you saw my last blog or watched our last video you would see that I have never had luck with starting seeds indoors. I did a lot of research and watched a lot of videos to see what I could be doing wrong and made some adjustments.
Since correcting my seed starting mistakes, things have escalated…quickly. Like hundreds of plants in my spare bedroom, quickly. I started with simple plants including a variety of tomatoes and bell peppers-which we use the most of. I also grew a LOT of zucchini, but I planted them several weeks too early and have been trying to nurture them in 12″ pots until the last expected frost date of the year!

If you are interested in starting your own seeds and growing your own food, you DON’T need to make huge investments or build a greenhouse! We don’t have a fancy greenhouse and our garage is too full to keep many plants out there, so we have been using our spare bedroom to house our growing seedlings and our spare bathroom shower to germinate seeds.
We did make one investment though-plant lights and stands. The first lightbulb and stand we purchased was from Amazon. The second, my husband built from tobacco sticks and we purchased a plug in light fixture and grow lightbulbs from Lowe’s. So, less than $100 invested to grow over $1000 worth of plants! Yes $1000!
In my previous blog, you saw how I started seeds in egg cartons. Well, the race is on to get them transplanted once they sprout because they need lots of soil and room to establish a strong root system. How do you transplant tiny seedlings? Here’s what I did!
Supplies
Sterilized soil
Scissors
A teaspoon
Several old baking sheets

Start by cutting drain holes on each side of each cup. You will see 3 small indentions on the bottom sides of the cup, I just cut the corner off of each indention.
Fill the cup 3/4 of the way full with soil and pack it down slightly. Scoop the center out of the soil using a teaspoon, making a hole about the size of the egg carton “pod”.
Gently scoop the seedling (and soil) out of the egg carton pod and drop into place in your cup. Spread soil around the seedling up to the top of the cup.
If you have multiple sprouts in one egg pod, scoop the pod out and gently separate the seedlings and roots. Instead of making a single indention in your soil cup, take your finger or sharpie and make several small holes in the soil-no more than 3 per pot. Drop your seedling into the hole and gentle rake soil around the roots and fill in the hole. Line your newly potted plant on a baking sheet.

Setting up your growing table
Supplies
Sturdy table
Move your baking sheets and plants onto a sturdy table. You will want to adjust your grow lights to sit about 4-5″ from the tops of the seedlings. This will allow them to grow upwards without having to stretch and grow too leggy and weak. Set your light on a timer to run 14-16 hours a day.
Place a small fan nearby and set it on a timer to come on for a couple hours a day (I set mine to come on for 2 hours twice a day). This will help your plants to grow strong stalks and will make the hardening off process much easier.
To water the plants, fill the baking sheets with water. The holes in the bottom of the cups will allow water to seep in from the bottom. You can water plants from the top as well, just be careful that you aren’t pouring directly on or around the stem of the plant. Water damage can occur very easily so I prefer to water from the bottom. Once the plants develop true leaves, I begin mixing organic fertilizer in the water once a week. This will help keep nutrients in the soil while the root system develops.
I begin hardening my plants off by leaving them outside for a few hours each day, lengthen the time each day until they are outside full time, usually over the span of two weeks. Once the plant is hardened off, you are good to transplant to your garden!
I hope these tips help you along your gardening journey! Let me know if you have any tips and tricks you find along the way! You can also watch the process here.
-Kristen




Leave a Reply