


English Muffins
Welcome back to the Ridge! I want to start by saying, that if you’re here for the recipe, go ahead and scroll down because I have a short story to tell first.
I’ve been on a hiatus from the blogosphere because I had a BABY! Pregnancy and postpartum have brought so many new challenges and it’s been a lot for us to adjust to. We both still work full time although I have been able to shorten my work week a little. We still have a bunch of livestock and they are multiplying daily (literally. It’s lambing season). Right now I’m in a phase of prioritizing everything. Being a mom, being a wife, spending time in God’s word, keeping up with the house…the list goes on and on, but I’m choosing to prioritize only what will serve me, my family, and our goals.
That brings me to one of our biggest priorities- FOOD. We strive to produce most of what we eat here on our farm and make everything as homemade as possible. I had a sourdough starter for almost two years, but when I started into late pregnancy I quickly became disinterested and did not have the patience to care for it or use it. If you haven’t had a sourdough starter or cooked with sourdough-it’s like having another child, or at least a pet. It needs to be fed regularly and when you want to cook with it you will spend half a day or more tending to the bread you’re trying to make. Mom-ing is HARD. I don’t want to be worrying about the last time I fed the starter. Don’t get me wrong, sourdough has SO many benefits when compared to yeast-risen bread, but you can still make delicious, healthy bread at home without it. And yes, one day, I will revive my starter, but for now, it can stay in the back of the refrigerator.
Okay, so, the real reason you are here. The English muffins. I love nourishing my body with good, healthy food. Which often means I need to meal prep of some sort, otherwise I end up eating junk or not at all. I checked the ingredients on our store-bought muffins and found 4 ingredients I couldn’t pronounce and several other ingredients I had to search the interweb to see what they were. Not cool. Making them at home surely couldn’t be that hard, right? I had seen several food bloggers and homesteaders make them with sourdough starter or discard….so. Why not yeast? Well. It is possible and it’s super heckin’ easy! Some simple ingredients and a few hours later, you’ll be scarfing these bad boys down as they come out of the skillet!

English Muffins
Yields 10-12 muffins
- 1 1/4 cup of warm water
- 1 1/2 teaspoon of instant dry yeast
- 1 tablespoon of sugar
- 3 tablespoons of melted butter
- 2 teaspoons of salt
- 2 3/4-3 cups of flour
- Cornmeal for dusting
- Cooking oil or grease
Place warm water in a large mixing bowl. Stir in sugar and sprinkle yeast into the mixture. Let it sit for 15 minutes. Stir in melted butter and salt. Add in 2 1/2 cups flour and mix until combined. If the dough is too wet, add a bit more flour until it is firm and tacky, but not sticking to your hands. If you are using a stand mixer, use your dough hook and knead the dough for 5 minutes. If you are not using a stand mixer, turn the dough out onto a floured surface and knead for 5 minutes. Let the dough rest for 15 minutes. Stretch and fold the dough for 5 more minutes then shape it into a ball and place in a slightly oiled bowl. Cover with a tea towel and set in a warm area for 1 hour or until it has doubled in size. I like to place my dough in the oven with the oven light on. Be sure the oven is room temp and is NOT turned on. The light creates just enough warmth to get the dough rising without it getting crusty.
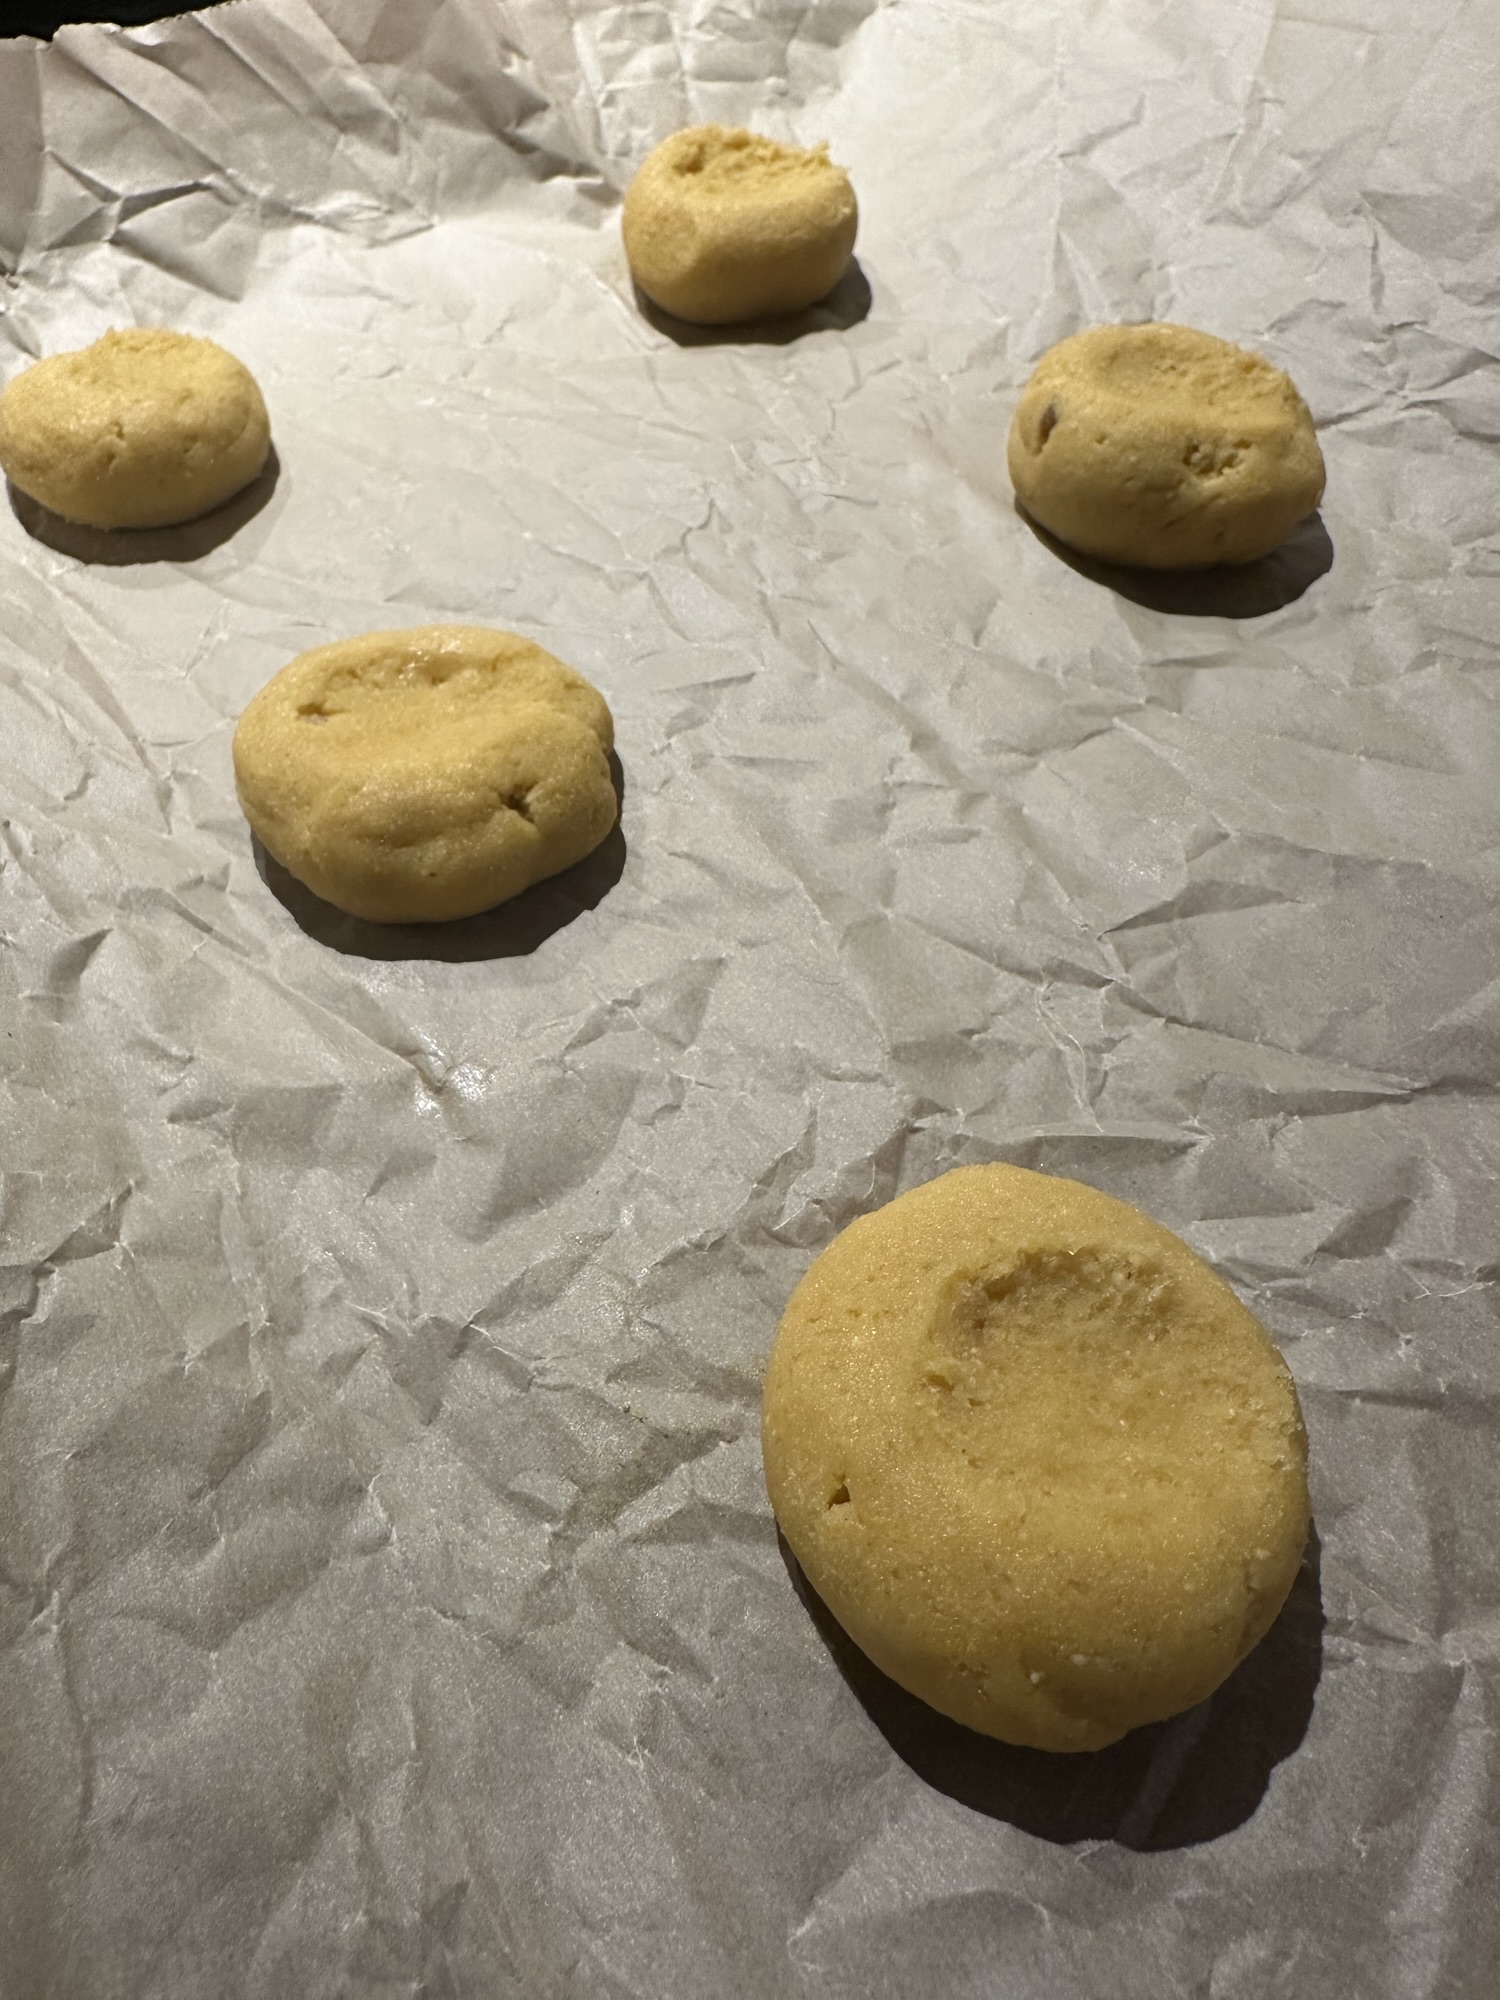
Once the dough has doubled, turn it out onto a floured surface and stretch and fold for another 5 minutes. Separate the dough into 10-12 pieces and shape it into a ball by gently rolling it between your hands, then flatten it slightly into the typical “English muffin” shape. Be careful not to overwork the dough or it could become tough. Place the balls onto a baking sheet and dust them with cornmeal. Set the baking sheet back in a warm place to rise for another 30-45 minutes.
Add 1 heaping tablespoon of baking grease or your choice of cooking grease/oil to a cast iron skillet and heat over low heat. Place 3-4 muffins in the pan, cover, and cook for 7 minutes until golden brown. Flip, cover, and cook for another 5-7 minutes until the other side is also golden brown. If you plan to store your muffins and use them as needed, wait several hours or even until the following day to slice them. This will maintain the fluffy, moist center.
Enjoy and God bless ya!
-Kristen



Leave a Reply